


A Bendix slack adjuster repair kit is essential for maintaining the precise stroke and timing of commercial vehicle air brake systems. This article provides a comprehensive technical guide on the installation process, focusing on restoring the mechanical integrity of automatic slack adjusters to meet stringent safety standards. Readers will learn the systematic steps required to rebuild these critical components using high-quality S-Camshafts and genuine hardware to ensure long-term roadworthiness.
Understanding the Role of Bendix Slack Adjuster Repair Kits
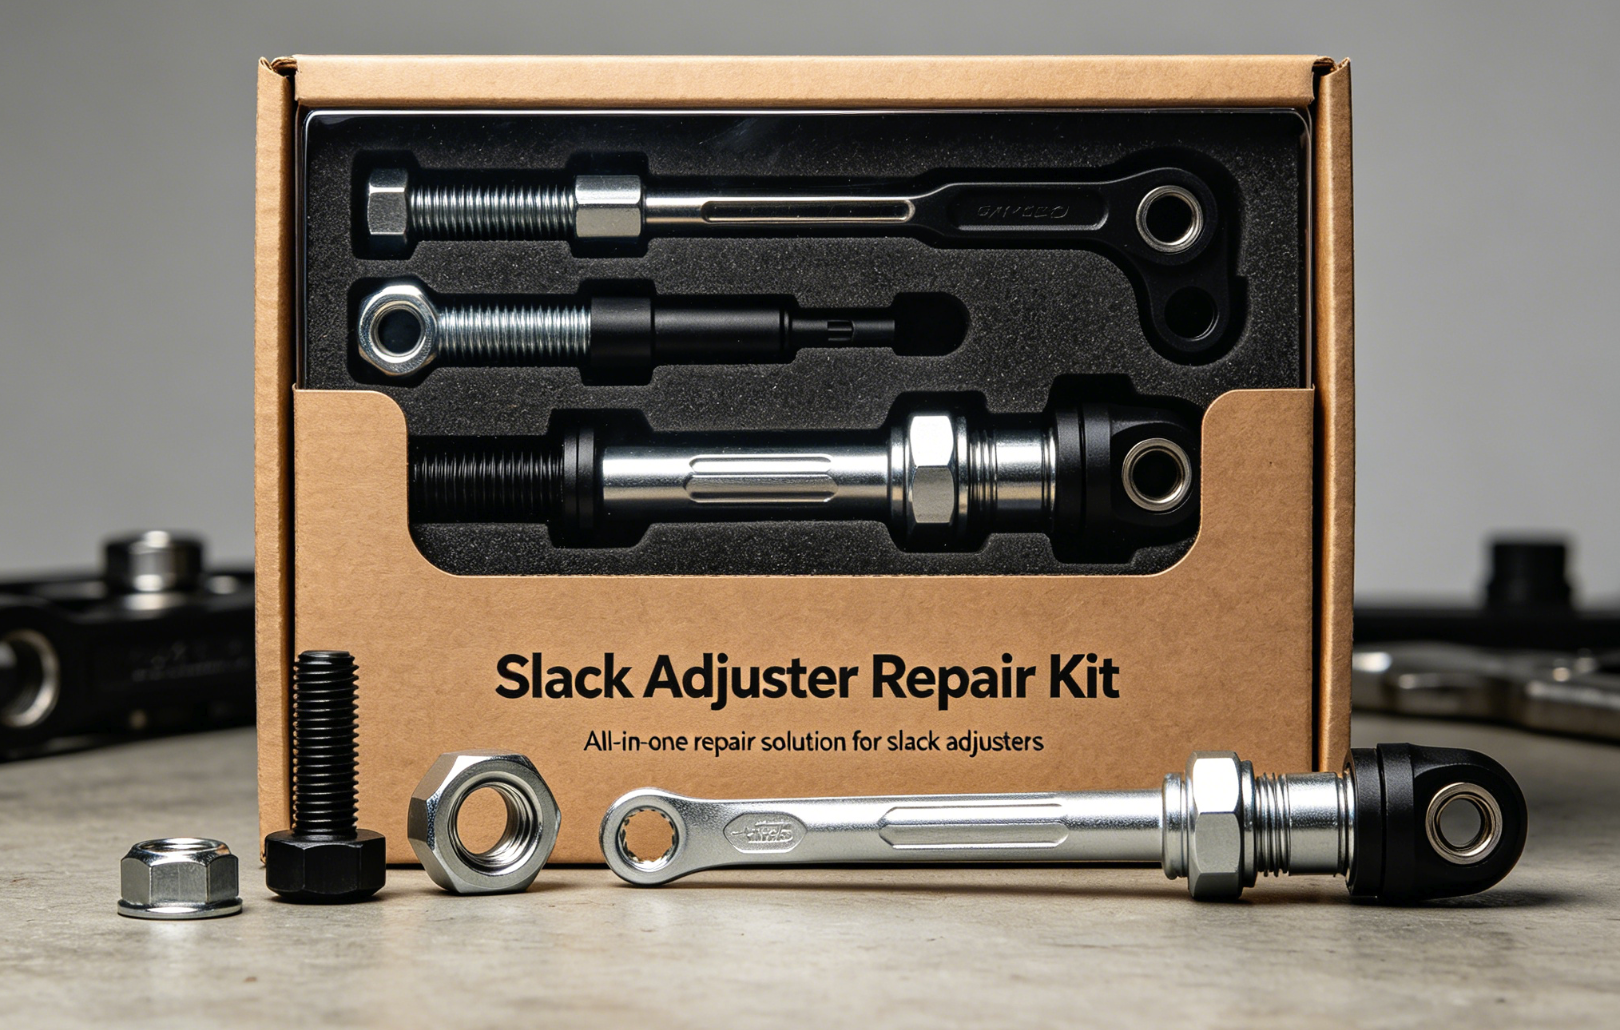
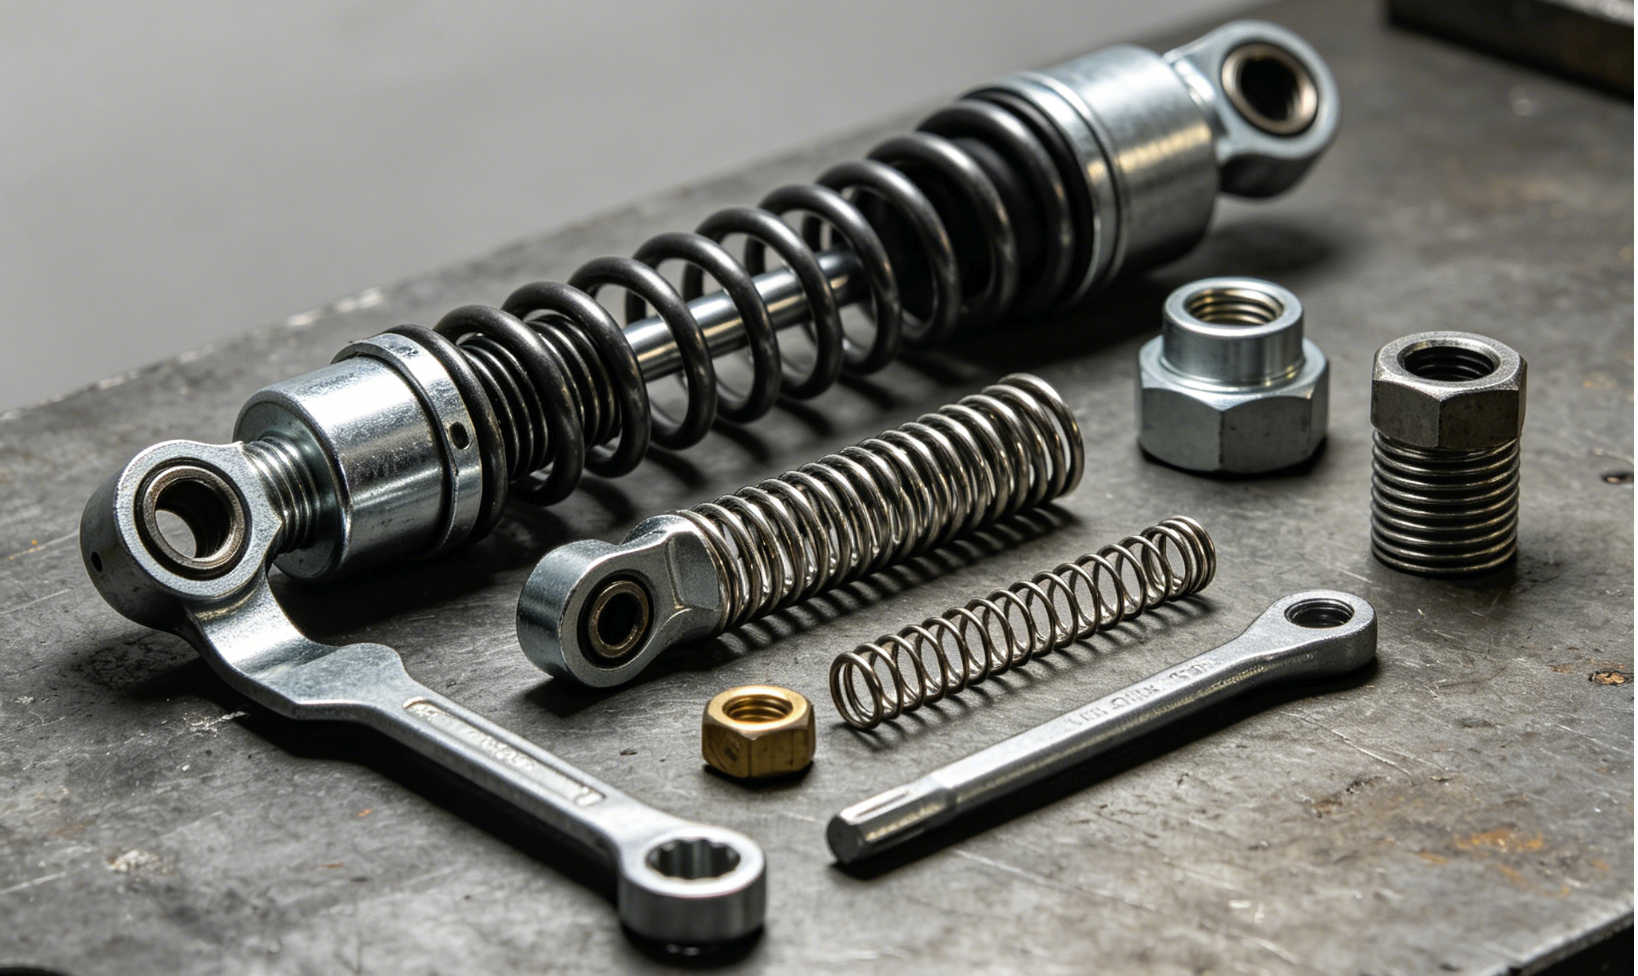
A Bendix slack adjuster repair kit is a curated set of internal components designed to replace worn gears, springs, and seals within an automatic slack adjuster (ASA). The primary function of these parts is to maintain the proper clearance between the brake lining and the drum by automatically compensating for lining wear during operation.
When an ASA fails to maintain the correct pushrod stroke, it often stems from internal contamination or mechanical fatigue of the one-way clutch. Utilizing a repair kit allows fleet maintenance teams to restore factory-spec performance without the expense of a complete unit replacement. This process is critical for heavy-duty Slack Adjusters used in severe-service applications where heat and road debris accelerate component degradation.
Technical Comparison: Repair Kit vs. Full Replacement
Choosing between a repair kit and a new assembly depends on the condition of the ASA housing and the camshaft splines. A repair kit is most effective when the external casting is free of cracks and the internal bore is not scored.
| Feature | Repair Kit Installation | Full Unit Replacement |
|---|---|---|
| Cost Impact | Significantly lower (Parts only) | Higher (Full assembly cost) |
| Labor Time | 45–60 minutes per wheel | 20–30 minutes per wheel |
| Component Life | Restores internal mechanics | Full assembly service life |
| Tools Required | Snap ring pliers, grease gun, torque wrench | Standard wrenches, clevis pins |
| Best For | Internal wear/seal failure | Housing damage/Structural fatigue |
Pre-Installation Preparation and Safety Protocols
Before beginning the installation, the vehicle must be parked on a level surface with the wheels chocked to prevent movement. The air system must be fully charged, and the spring brakes must be caged either manually or via air pressure to release the tension on the slack adjuster.
Inspecting the foundation brake components is a mandatory step according to the Bendix Technical Bulletin 05-1. Technicians should verify that the Brake Chambers are securely mounted and that the pushrod is not bent. Any radial play in the camshaft exceeding 0.035 inches indicates that the bushings require replacement before the new slack adjuster kit is installed.
Step-by-Step Installation Guide for Bendix Repair Kits
The installation of a Bendix repair kit requires precision to ensure the “sensing” mechanism of the automatic adjuster functions correctly. Follow these industry-standard steps:
1. Removal of Worn Components
After caging the brakes, remove the clevis pins and the snap ring securing the slack adjuster to the camshaft. Slide the adjuster off the shaft. Use a clean workspace to disassemble the internal gears and the one-way clutch assembly. Ensure all old grease is purged from the housing using a non-corrosive solvent.
2. Installing Internal Gear Sets
Apply a thin layer of high-temperature lubricant to the new worm gear and splines included in the kit. Insert the gear into the housing, ensuring the teeth align perfectly with the adjustment hex. Replace all O-rings and seals to prevent moisture ingress, which is the leading cause of ASA seizure in Brake Drums environments.
3. Re-Mounting and Alignment
Slide the rebuilt slack adjuster onto the camshaft. It is vital to use enough spacers/washers to align the center of the slack adjuster with the center of the pushrod. This prevents side-loading, which can cause premature failure of the Brake Pads and seals.
4. Setting the Initial Clearance
Rotate the manual adjustment hex clockwise until the brake shoes contact the drum. Then, back off the adjustment hex by a 1/2 turn (counter-clockwise). This provides the necessary “running clearance” for the automatic mechanism to take over.
Critical Torque and Clearance Specifications
Adhering to specific torque values is non-negotiable for commercial vehicle safety. Improperly tightened jam nuts or clevis pins can lead to brake failure under heavy loads.
| Component | Specification | Tool Required |
|---|---|---|
| Pushrod Jam Nut (1/2″-20) | 25 – 35 ft-lbs | Torque Wrench |
| Pushrod Jam Nut (5/8″-18) | 35 – 50 ft-lbs | Torque Wrench |
| Manual Adjustment Hex | 3/4 inch | Socket Wrench |
| Max Camshaft Axial Play | 0.005 – 0.025 inches | Feeler Gauge |
Verification of the Automatic Adjustment Mechanism
Once the repair kit is installed, the system must be tested for “self-adjustment” capability. This is performed by making several full brake applications (80-90 PSI) while observing the pushrod travel.
According to the SAE J1707 Recommended Practice, the stroke should stabilize within the legal limits specified by the CVSA. If the stroke continues to increase, the internal clutch or the installation orientation of the reference arm may be incorrect. Never use an impact wrench to adjust an ASA, as this will strip the internal gears provided in the repair kit.
Maintenance Schedule for Rebuilt Slack Adjusters
Rebuilt units require consistent lubrication to maintain the “as-new” performance provided by the Bendix repair kit. Use only NLGI Grade 2 lithium-base grease.
- Standard Highway Use: Lubricate every 25,000 miles or 3 months.
- Severe Service (Construction/Mining): Lubricate every 10,000 miles or monthly.
- Annual Inspection: Check for boot integrity and clevis pin wear.
Troubleshooting Common Installation Errors
Even with a high-quality Bendix repair kit, errors during assembly can lead to “brake drag” or “over-adjustment.”
- Issue: Excessive Stroke. Often caused by a worn clevis pin or a reference arm that was not anchored correctly to the mounting stud.
- Issue: High Adjusting Torque. This indicates that the internal gears were installed without sufficient lubrication or the housing bore is damaged.
- Issue: Uneven Lining Wear. This usually suggests that the slack adjusters on the same axle are not set to the same initial clearance.
Summary Checklist for Fleet Managers
| Task | Completion Status |
|---|---|
| Verify Camshaft Bushing Wear (<0.035″) | [ ] |
| Apply Anti-Seize to Splines | [ ] |
| Ensure 90° Angle at Mid-Stroke | [ ] |
| Test with 80-90 PSI Application | [ ] |
| Secure All Cotter Pins and Snap Rings | [ ] |
The use of a Bendix slack adjuster repair kit is a cost-effective strategy for maintaining safety in commercial fleets. By following these technical steps and ensuring the use of professional-grade ABS ECU & Cables, operators can ensure their braking systems remain compliant with UN Regulation No 131-02 and other global safety standards.
FAQ: Common Questions on Bendix Repair Kits
Can I use a Bendix repair kit on a different brand of slack adjuster?
No, repair kits are engineered for specific internal tolerances and gear ratios. Using a Bendix kit in a non-Bendix housing can lead to a mechanical mismatch, preventing the automatic adjustment mechanism from locking, which may result in a complete loss of braking force on that wheel.
How do I know if my slack adjuster needs a repair kit or a full replacement?
If the external housing shows signs of cracking, thinning from corrosion, or if the camshaft splines are stripped, a full replacement is required. However, if the unit only fails the “functional stroke test” but is structurally sound, a repair kit is a viable and recommended solution.
Why shouldn’t I use an impact wrench during the installation process?
Impact wrenches generate high-frequency vibrations and uncontrolled torque that can shatter the internal one-way clutch or strip the delicate teeth of the worm gear. Hand tools must be used for all adjustment steps to preserve the integrity of the high-precision components within the kit.
Is it necessary to replace the clevis when installing a repair kit?
Yes, most comprehensive Bendix kits include a new clevis or pins. Using old, oval-shaped clevis holes with new internal gears creates “lost motion,” which the ASA interprets as brake wear, leading to over-adjustment and potential brake overheating or wheel-end fires.
What is the significance of the 90-degree angle during installation?
The slack adjuster arm must form a 90-degree angle with the brake chamber pushrod at exactly half of the total stroke. This geometry ensures the maximum mechanical advantage and consistent torque delivery to the camshaft, which is critical for meeting stopping distance requirements in emergency situations.
Post time: May-18-2026