


Understanding the deadly risks of brake chamber spring breakage is essential for fleet safety, as a sudden mechanical failure within the emergency braking system can lead to uncontrollable vehicle behavior. This comprehensive guide details why internal spring fatigue occurs and outlines the critical prevention strategies necessary for commercial vehicle maintenance.
Understanding the Dual-Chamber Spring Brake System
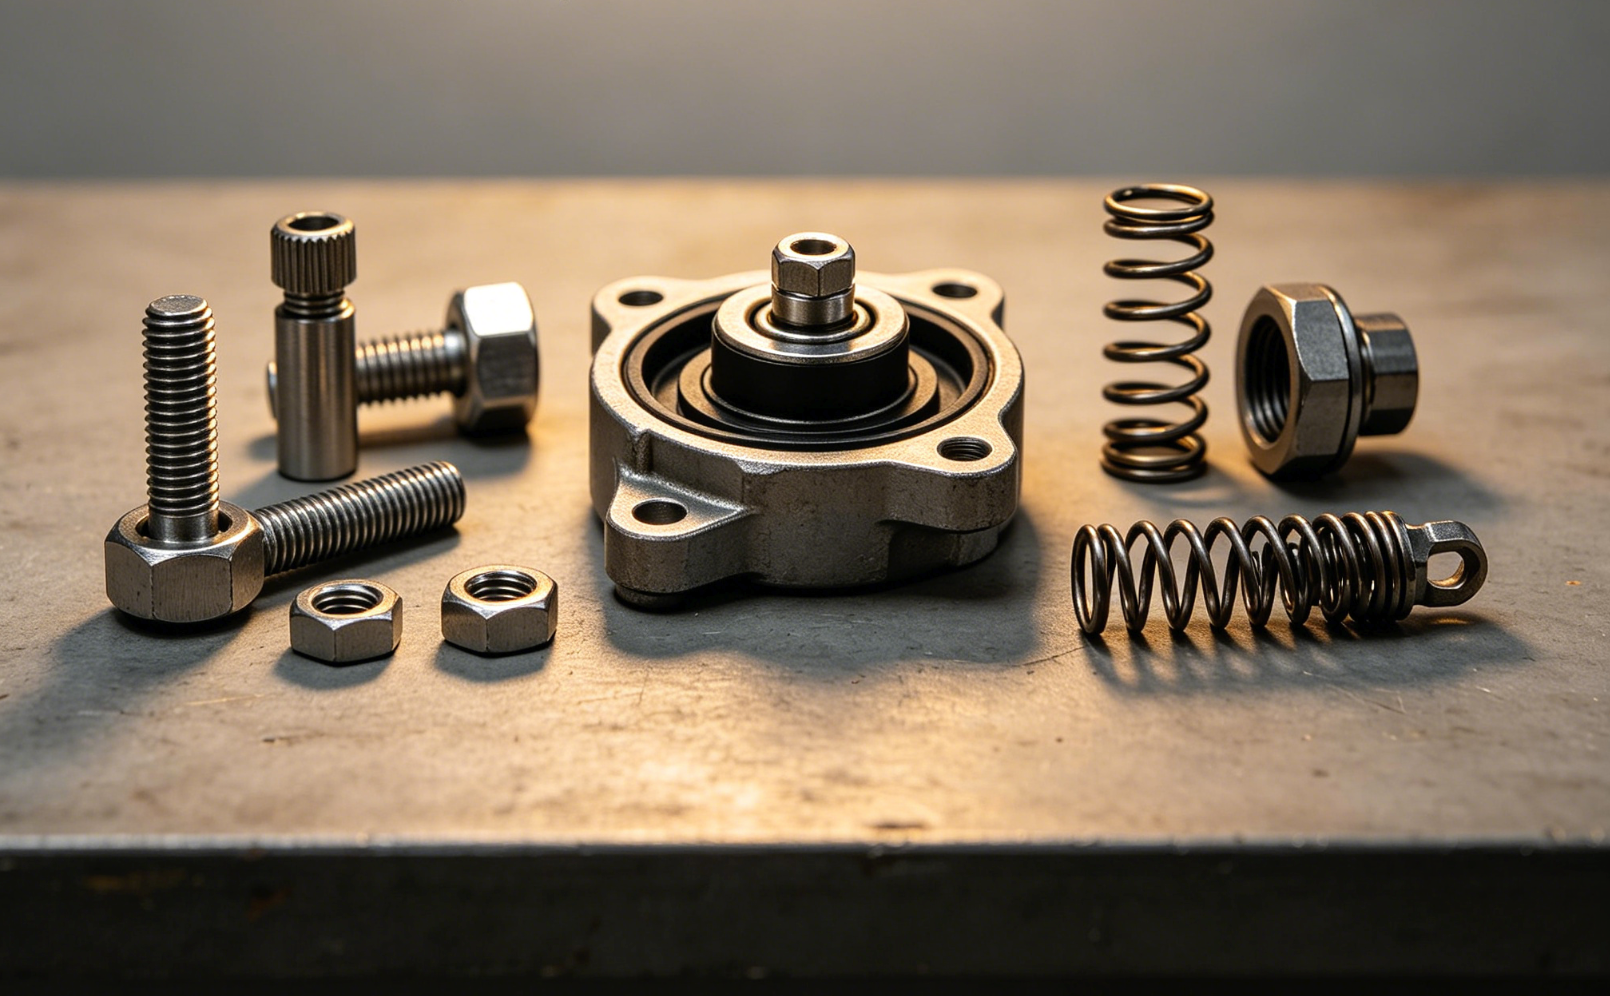
A commercial vehicle spring brake chamber is a dual-purpose actuator designed to manage both service braking and emergency/parking functions. The service section operates via compressed air to slow the vehicle during normal transit, while the emergency section houses a powerful “power spring” held in compression by air pressure. According to industry safety standards, the primary function of this heavy-duty spring is to apply the brakes automatically if pneumatic pressure is lost, ensuring the vehicle remains stationary or comes to a controlled stop during a system failure.
The Deadly Risks of Internal Spring Breakage
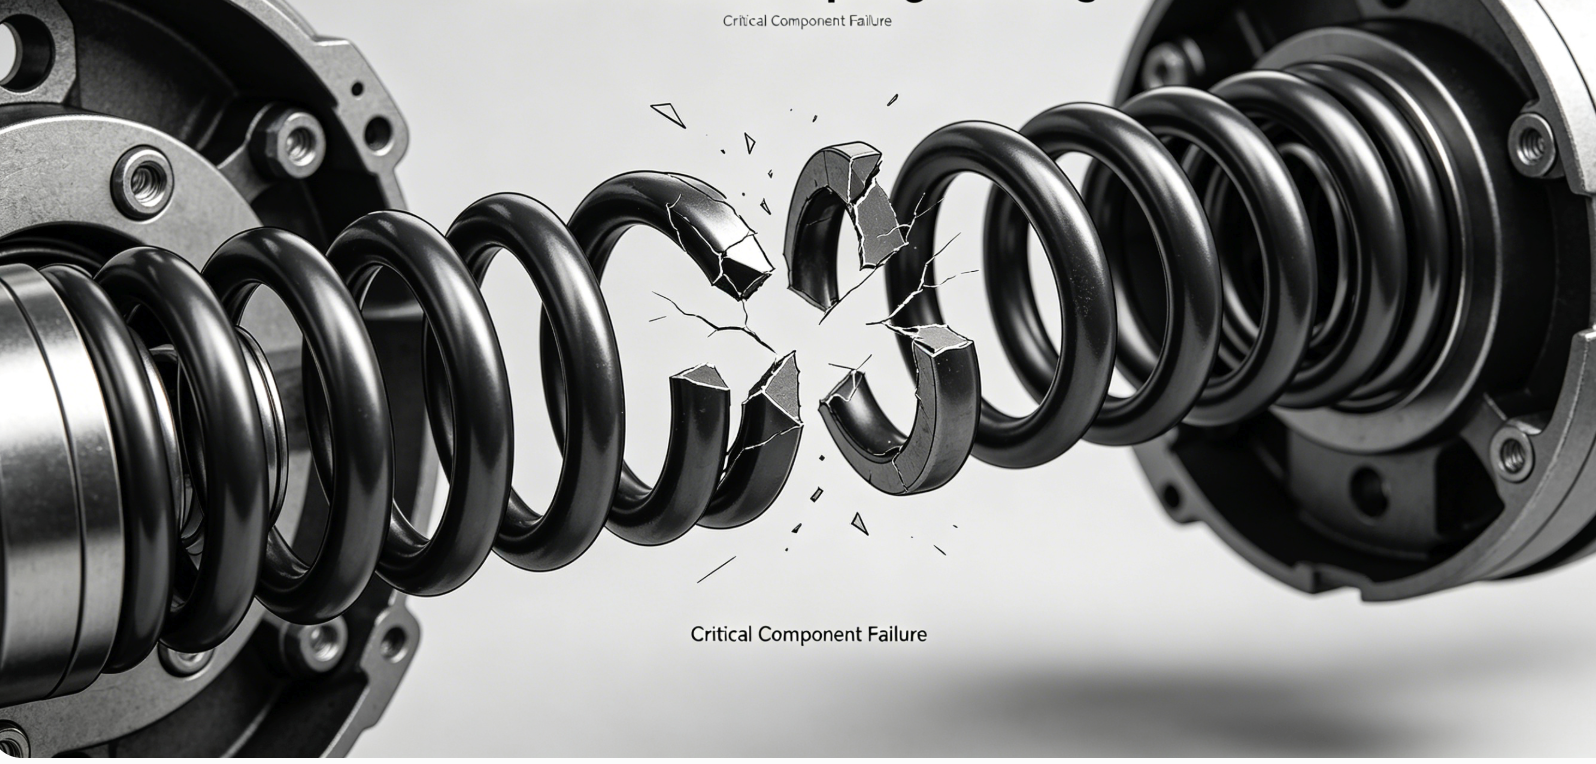
When an internal spring within a truck spring brake chamber fractures, the mechanical energy stored can cause the housing to rupture or lead to “brake drag.” Brake drag occurs when the broken spring fragments prevent the brake shoes from fully retracting, leading to extreme heat generation and potential wheel-end fires. Furthermore, a compromised spring may fail to provide sufficient clamping force during a total air loss event, resulting in a runaway vehicle scenario on steep inclines.
Mechanical Causes of Spring Fatigue and Failure
Spring breakage is rarely a spontaneous event; it is typically the result of long-term environmental exposure and mechanical stress. Corrosion is the leading cause of premature failure, often triggered by road salts or moisture entering the chamber through damaged dust boots or breather holes. Over time, these corrosive elements create “pitting” on the spring surface, which acts as a stress concentrator, eventually leading to a complete fracture under the high-tension environment of the emergency housing.
Table 1: Common Indicators of Spring Brake Chamber Failure
| Symptom | Mechanical Cause | Potential Risk |
|---|---|---|
| Slow Release Time | Weakened or broken return spring | Excessive brake lining wear |
| Air Leaks (Parking Side) | Perforated diaphragm or cracked housing | Unintended parking brake engagement |
| Dragging Brakes | Internal spring fragments jamming the piston | Wheel-end fire or tire blowout |
| Visible Corrosion | Breather hole blockage or seal failure | Total structural failure of the housing |
The Dangers of “Caging” a Broken Spring
“Caging” is a maintenance procedure used to mechanically compress the spring so the vehicle can be towed, but performing this on a damaged unit is extremely hazardous. If the internal spring is already broken, the caging bolt may not securely engage the piston, or the tension may be unevenly distributed. Maintenance professionals must utilize a brake caliper inspection protocol to ensure the entire wheel-end assembly is stable before attempting to service a pressurized spring chamber.
Prevention Strategies: Maintenance and Inspection
The most effective way to prevent spring-related accidents is through a rigorous inspection schedule focused on the integrity of the brake actuator housing. Technicians should check for any signs of “mushrooming”—a condition where the housing expands due to internal pressure or corrosion—and ensure that all drain holes are clear of debris. Proper lubrication of the automatic slack adjuster also ensures that the spring brake does not have to compensate for excessive mechanical play in the linkage.
Table 2: Spring Brake Preventive Maintenance Checklist
| Component | Inspection Frequency | Action Required |
|---|---|---|
| Dust Boots | Every 10,000 miles | Replace if cracked or missing to prevent moisture entry |
| Housing Integrity | Monthly | Check for dents, deep rust, or impact damage |
| Mounting Bolts | Weekly | Ensure torque meets OEM specifications (typically 100-115 lb-ft) |
| Caging Bolt Cap | Monthly | Verify the cap is present to keep road grime out of the chamber |
Role of High-Quality Components in Longevity
Selecting a reliable brake pad and high-tensile spring chamber from a reputable manufacturer significantly reduces the risk of sudden breakage. For B2B suppliers and repair shops, sourcing parts from a certified brake chamber factory ensures that the internal springs have undergone proper shot-peening and anti-corrosion coating processes. These manufacturing standards are critical for enduring the high-cycle demands of heavy-duty transit.
Global Standards and Safety Compliance
Compliance with international safety standards, such as the Federal Motor Vehicle Safety Standard (FMVSS) 121 in the United States or the ECE R13 in Europe, is mandatory for all heavy-duty braking components. These regulations dictate the minimum force a spring must exert and the durability it must maintain over millions of cycles. According to the Commercial Vehicle Safety Alliance (CVSA), brake-related violations consistently remain the top cause for vehicles being placed “out-of-service” during roadside inspections in 2024.
Warning Signs During Operation
Drivers should be trained to recognize the early warning signs of a failing solenoid valve or spring chamber while on the road. A “hissing” sound when the parking brake is released often indicates a leaking diaphragm, which precedes spring corrosion. If the vehicle pulls to one side during service braking, it may indicate that one spring chamber is not fully releasing, causing uneven friction levels across the axle.
Table 3: Comparison of Replacement vs. Repair
| Feature | Individual Component Repair | Full Chamber Replacement |
|---|---|---|
| Cost | Lower initial parts cost | Higher upfront cost |
| Safety Risk | High (risk of accidental spring release) | Low (factory sealed unit) |
| Labor Time | 1.5 – 2.0 hours | 0.5 – 1.0 hours |
| Warranty | Limited to replaced part | Full assembly warranty |
Conclusion: Prioritizing Proactive Replacement
The deadly risks of brake chamber spring breakage can be entirely mitigated through proactive replacement cycles rather than waiting for failure. Industry data suggests that spring chambers operating in corrosive environments should be replaced every 3 to 5 years regardless of apparent condition. By integrating high-quality truck parts into a scheduled maintenance program, fleet operators ensure the safety of their drivers and the public. For further technical details on heavy-duty braking systems, refer to the official Bendix Commercial Vehicle Systems documentation on air brake safety.
FAQ
1. How do I know if my truck’s brake chamber spring is broken?
A broken spring often manifests as “brake drag,” where the wheel stays hot after driving, or a visible “mushrooming” of the chamber housing. You might also notice that the parking brake fails to hold the vehicle on an incline or hear metal-on-metal rattling from the actuator during transit.
2. Can a broken brake chamber spring cause a vehicle fire?
Yes, if a spring breaks and prevents the brakes from fully releasing, the constant friction between the brake pads and the drum generates extreme heat. According to industry reports, this heat can exceed 500°F, quickly igniting tire rubber or grease within the wheel-end assembly.
3. Is it safe to disassemble a spring brake chamber for repair?
It is extremely dangerous to disassemble the emergency/parking side of a brake chamber because the spring is under thousands of pounds of pressure. Most modern chambers are “permanently sealed” to prevent disassembly; attempting to cut or force these open can result in fatal injuries.
4. What is the most common cause of spring brake chamber leaks?
The most common cause is a ruptured rubber diaphragm or internal corrosion eating through the housing. These leaks are often exacerbated by faulty air dryers in the pneumatic system, which allow moisture to accumulate and freeze inside the chamber during winter months.
5. How often should I inspect the spring brake system?
A visual inspection should be performed during every pre-trip walkaround, looking for leaks or damage. A detailed mechanical inspection, including checking the manual slack adjuster and chamber mounting, should be conducted during every scheduled oil change or every 10,000 miles.
Post time: May-18-2026