


When your brakes act up, you want to diagnose the problem quickly. Knowing how to check your brake system keeps you safe on the road. Plus, using a Brake caliper repair Kit makes fixing issues easy and efficient. Don’t wait until it’s too late!
Key Takeaways
- Check your brake pedal feel regularly. A firm pedal indicates good brakes, while a spongy or sinking pedal signals potential issues.
- Evaluate your stopping effort. Longer stopping distances or pulling to one side can mean your brakes need attention.
- Gather essential tools before starting repairs. A Brake caliper repair kit, wrenches, and a jack are crucial for a smooth repair process.
Diagnosing Brake Issues
When it comes to your vehicle’s brakes, knowing how to diagnose issues can save you time and money. Let’s break down the key areas to check.
Checking Pedal Feel
Start by pressing the brake pedal. You want to feel a firm response. If the pedal feels spongy or sinks to the floor, it’s a sign of trouble. Here’s what to look for:
- Firmness: A solid pedal means your brakes are working well.
- Sponginess: If the pedal feels soft, air might be trapped in the brake lines.
- Sinking: A pedal that sinks indicates a possible leak in the brake system.
Take a moment to check this every time you drive. It’s a simple way to catch problems early.
Evaluating Stopping Effort
Next, pay attention to how your car stops. You should feel confident that your brakes can bring you to a halt quickly. Here are some signs to watch for:
- Longer Stopping Distances: If you notice it takes longer to stop, your brakes may be wearing out.
- Pulling to One Side: If your car pulls to one side when braking, it could mean uneven wear on your brake pads or issues with the calipers.
- Noise: Listen for any grinding or squeaking sounds. These noises often indicate that your brake pads are worn down and need replacing.
Evaluating your stopping effort regularly can help you maintain control and safety on the road.
Common Symptoms of Brake Problems
Finally, be aware of these common symptoms that signal brake issues:
- Vibration: If you feel vibrations when braking, it might be due to warped rotors.
- Warning Lights: Pay attention to any dashboard warning lights related to your brakes.
- Fluid Leaks: Check for any fluid under your vehicle. Brake fluid leaks can lead to serious problems.
If you notice any of these symptoms, it’s time to take action. Using a Brake caliper repair Kit can help you address many of these issues effectively.
By staying vigilant and checking these aspects of your brake system, you can ensure your vehicle remains safe and reliable.
Using a Brake Caliper Repair Kit
When it comes to fixing your brakes, having the right tools makes all the difference. Let’s dive into what you need to get started with your Brake caliper repair Kit.
Necessary Tools for Brake Repair
Before you begin, gather these essential tools:
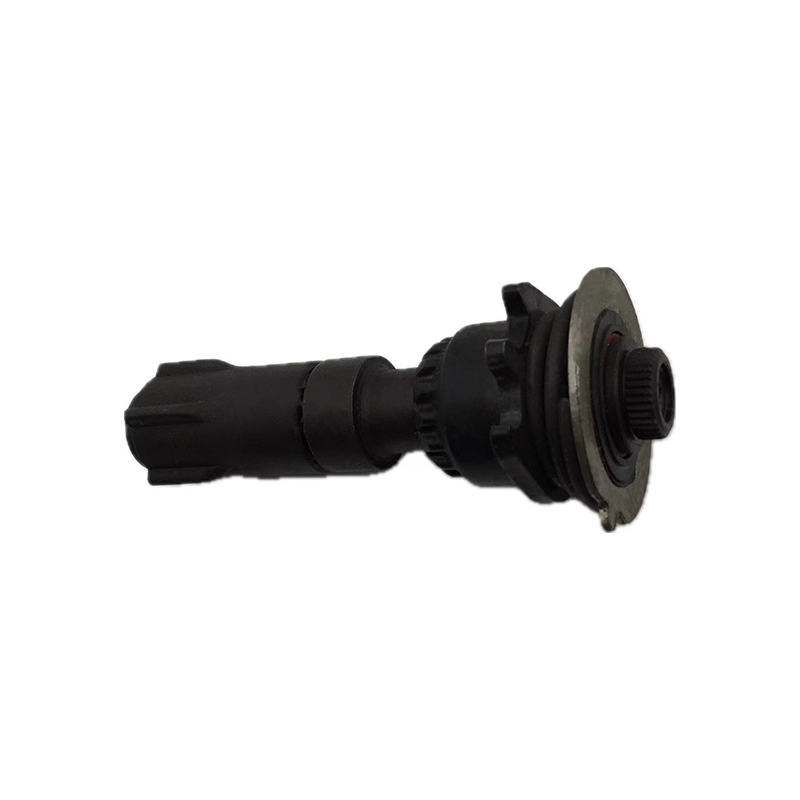
- Brake Caliper Repair Kit: This kit includes all the components you need for your SL7 or SM7 brake systems.
- Wrenches: A set of wrenches will help you remove and tighten bolts.
- Jack and Jack Stands: Use these to lift your vehicle safely.
- Brake Cleaner: This helps clean any dirt or debris from the brake components.
- Torque Wrench: Ensures you apply the correct amount of force when tightening bolts.
Having these tools on hand will make your repair process smoother and more efficient.
Step-by-Step Repair Instructions
Now that you have your tools ready, follow these steps to repair your brake calipers:
- Lift the Vehicle: Use the jack to lift your car and secure it with jack stands. Make sure it’s stable before you start working.
- Remove the Wheel: Take off the wheel to access the brake caliper.
- Inspect the Caliper: Check for any visible damage or leaks. If you notice anything unusual, it’s time to replace the caliper.
- Disassemble the Caliper: Use your wrenches to remove the caliper from its mounting bracket. Be careful not to damage any surrounding components.
- Replace Worn Parts: Open your Brake caliper repair Kit and replace any worn or damaged parts. Follow the instructions included in the kit for specific guidance.
- Reassemble the Caliper: Once you’ve replaced the necessary components, reattach the caliper to the bracket.
- Reinstall the Wheel: Put the wheel back on and tighten the lug nuts securely.
- Lower the Vehicle: Carefully remove the jack stands and lower your vehicle back to the ground.
By following these steps, you can effectively repair your brake calipers and ensure your vehicle is safe to drive.
Safety Precautions During Repair
Safety should always be your top priority when working on your vehicle. Here are some important precautions to keep in mind:
- Wear Safety Gear: Always wear gloves and safety glasses to protect yourself from debris and chemicals.
- Work in a Well-Ventilated Area: Ensure you have good airflow, especially when using brake cleaner.
- Secure the Vehicle: Make sure your vehicle is stable on jack stands before you start working underneath it.
- Follow Instructions: Always refer to the instructions provided with your Brake caliper repair Kit for specific guidance.
By taking these precautions, you can minimize risks and work confidently on your brake system.
Maintaining your brakes is crucial for your safety. Regular checks can prevent costly repairs and keep you safe on the road.
Post time: Sep-16-2025